
A user is simply a person — someone who can sign in through a client registered with Versola. This page walks through creating one in the admin console and the day-to-day operations available on an existing user: claims, roles, sessions, passkeys, limits and password resets.
Before you start
Users are not tenant-scoped — one record in auth covers the whole platform — but most
per-user actions on this screen (roles, limits) operate against whichever tenant is
currently selected in the sidebar.
1. Search for a user
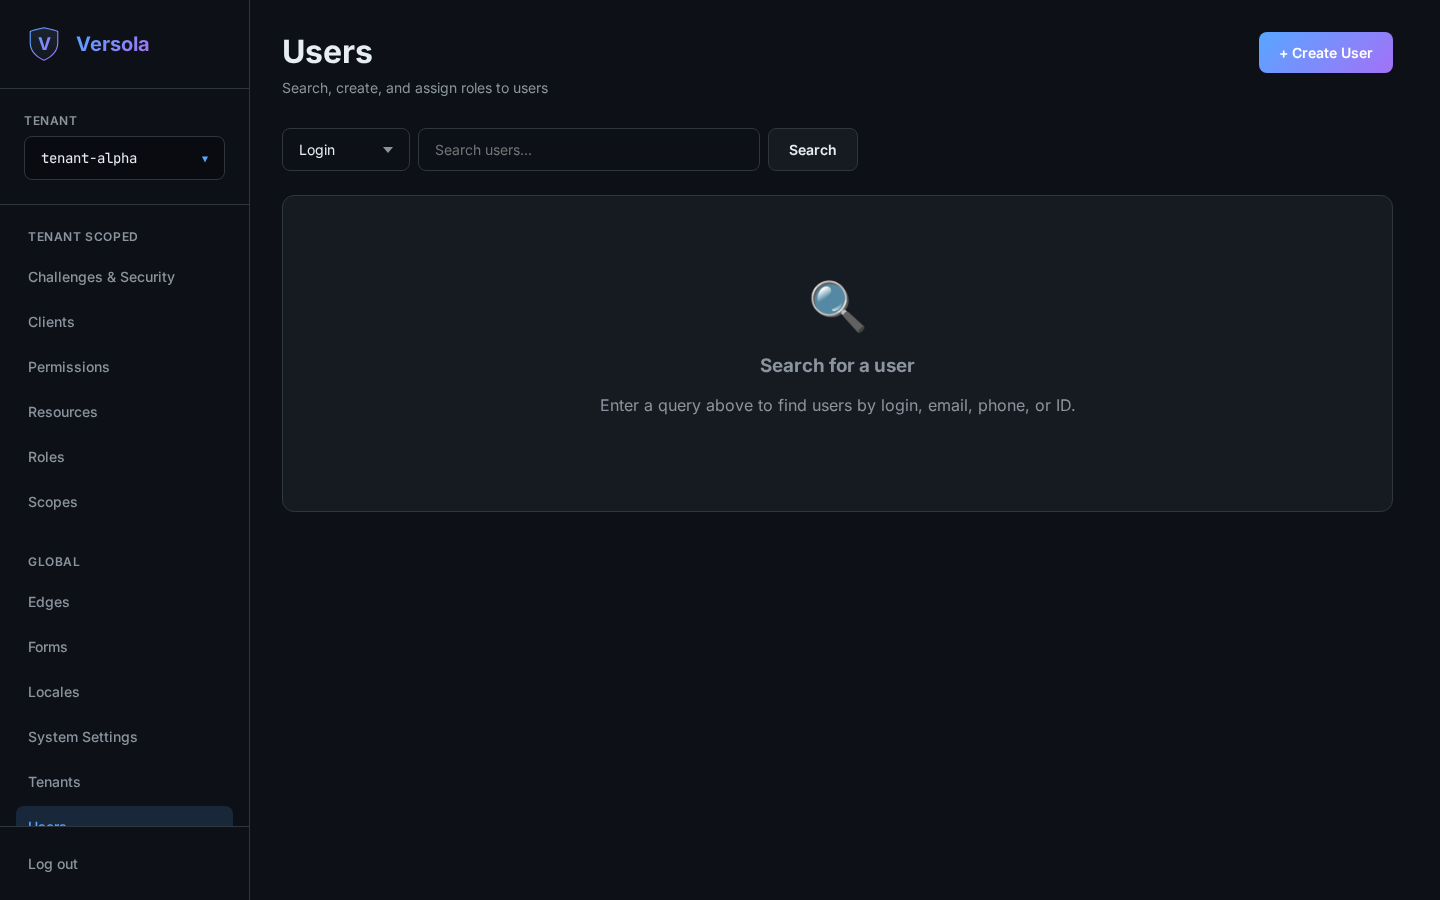
Open Users. The screen starts empty: users are looked up on demand rather than listed,
since the index can be large. Pick a search field — Login, Email, Phone or ID — or
just start typing a query and the field is guessed for you (a + selects Phone, an @
selects Email, a UUID selects ID, anything else selects Login).
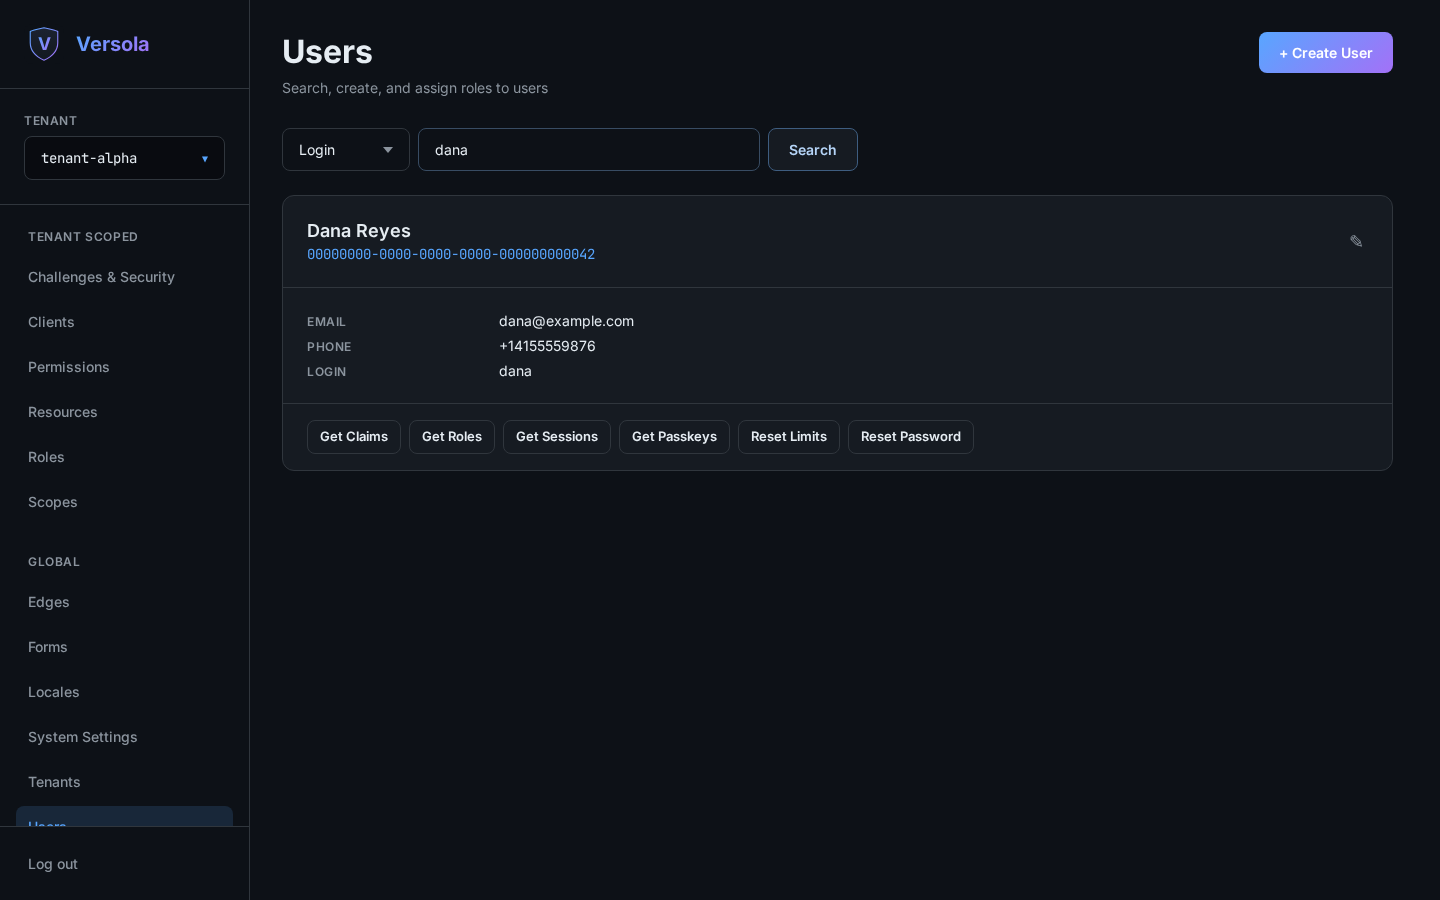
Matching users render as cards with their email, phone and login. A card with no name claim and no given/family name claims shows as “No Name” — this is a display fallback only, not a validation requirement.
2. Create a user
Click + Create User.
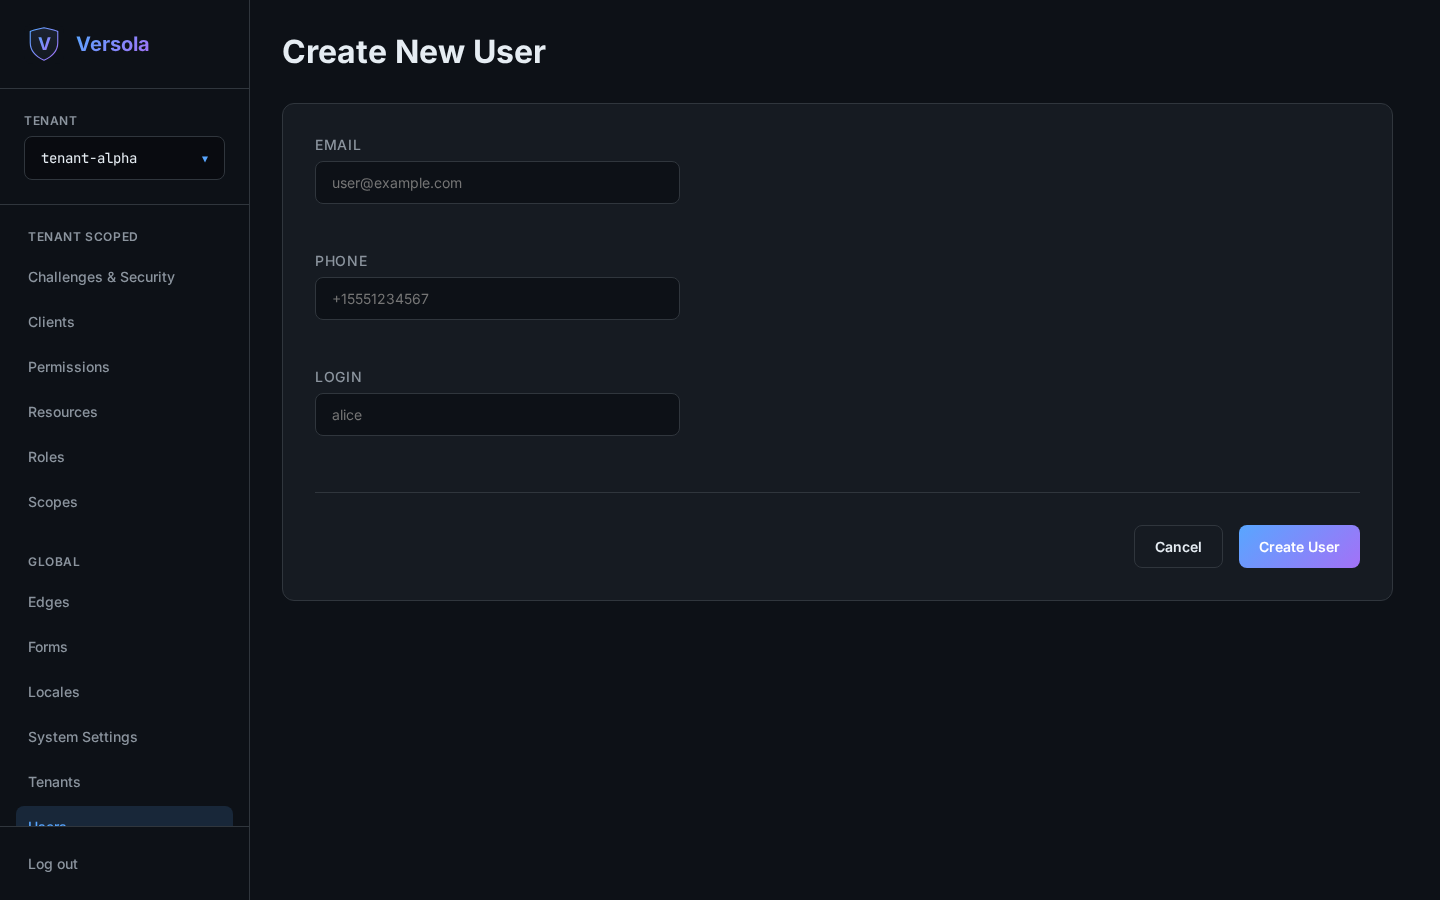
All three identifiers — Email, Phone, Login — are optional individually, but at least one is required to sign in later. Each is globally unique across the whole platform, not just the current tenant.
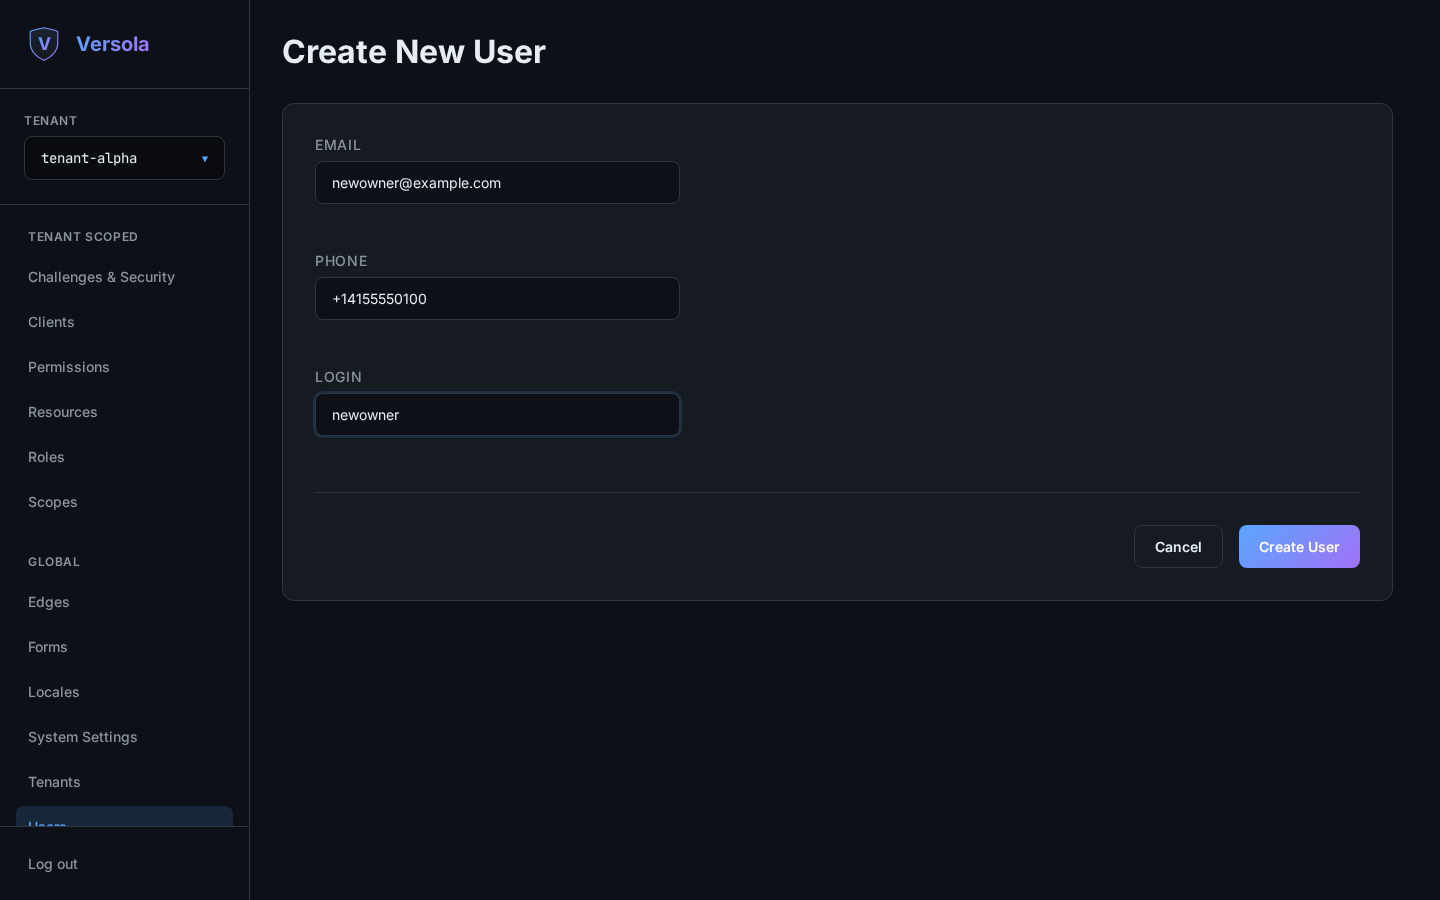
Phone must be a valid E.164 number (e.g. +15551234567); the form validates this before
submitting. Click Create User to save. There is no password field here — the user signs
in through a client’s configured auth flow, or you can trigger a temporary password with
Reset Password once the user exists (see below).
3. Edit basic fields
Click the pencil on a card to reopen the same form pre-filled, edit any of email/phone/login,
and click Update User. Only changed fields are sent to central.
4. Manage claims
Claims are the arbitrary profile attributes attached to a user — name, addresses, custom fields, anything you need. Click Get Claims to expand the current set on a card, then the pencil in that section to edit them.
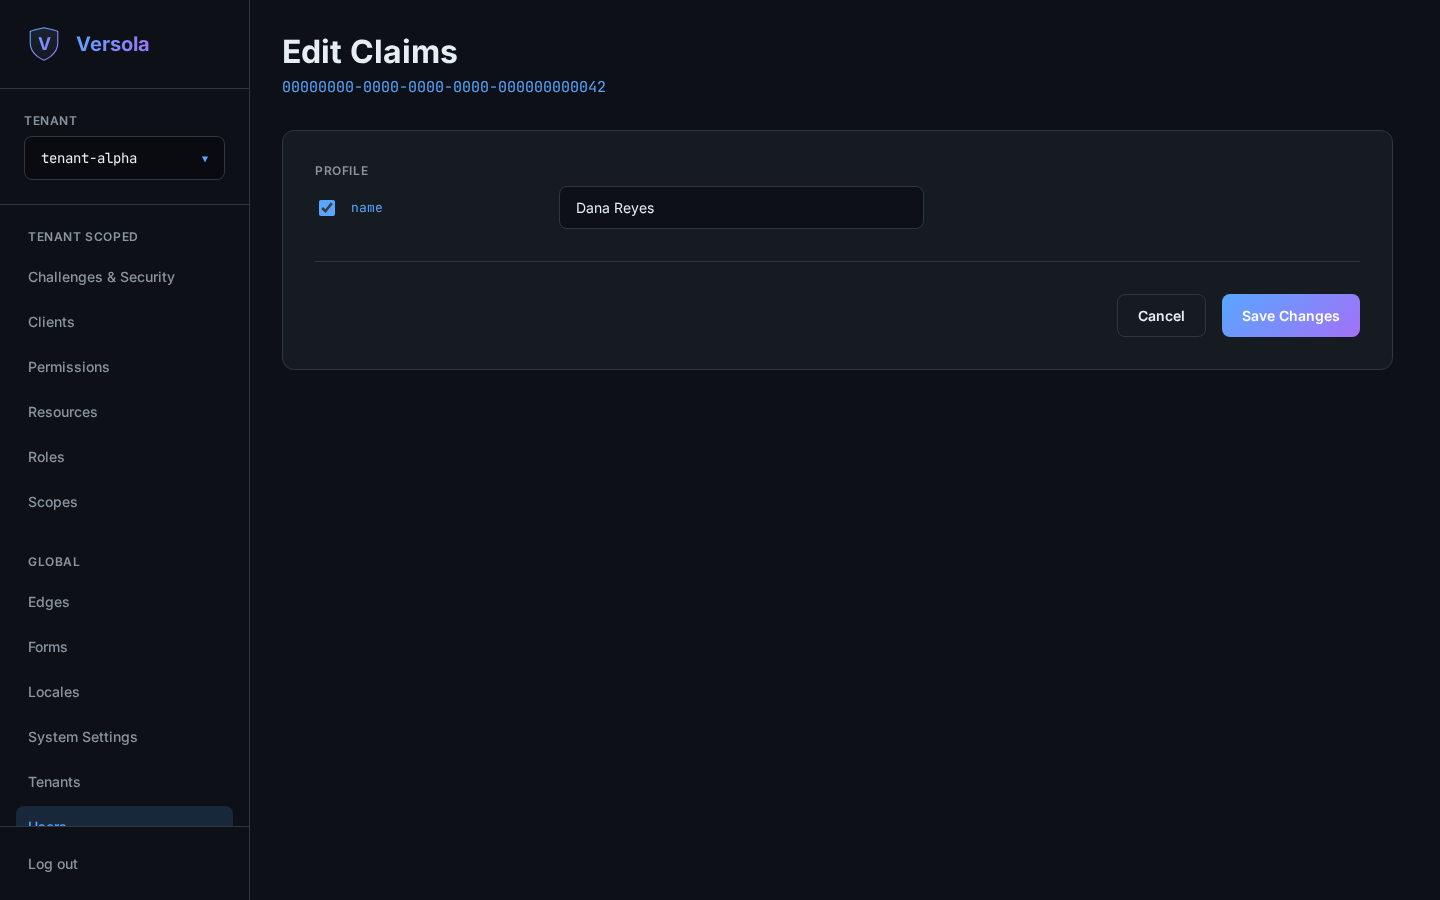
Claims are grouped by scope so you can see which scope releases which claim to a client.
email and phone_number are read-only here — they mirror the user’s Email/Phone fields
and are edited from the main form instead. Checking a claim enables it with an editable
value; unchecking removes it. Values are parsed back to true/false, numbers, or JSON
arrays/objects where they match that shape, and otherwise kept as strings.
5. Assign roles
Roles are per-tenant, so make sure the right tenant is selected first. Click Get Roles on a card to load the user’s roles in that tenant, then the pencil in that section to open the roles editor.
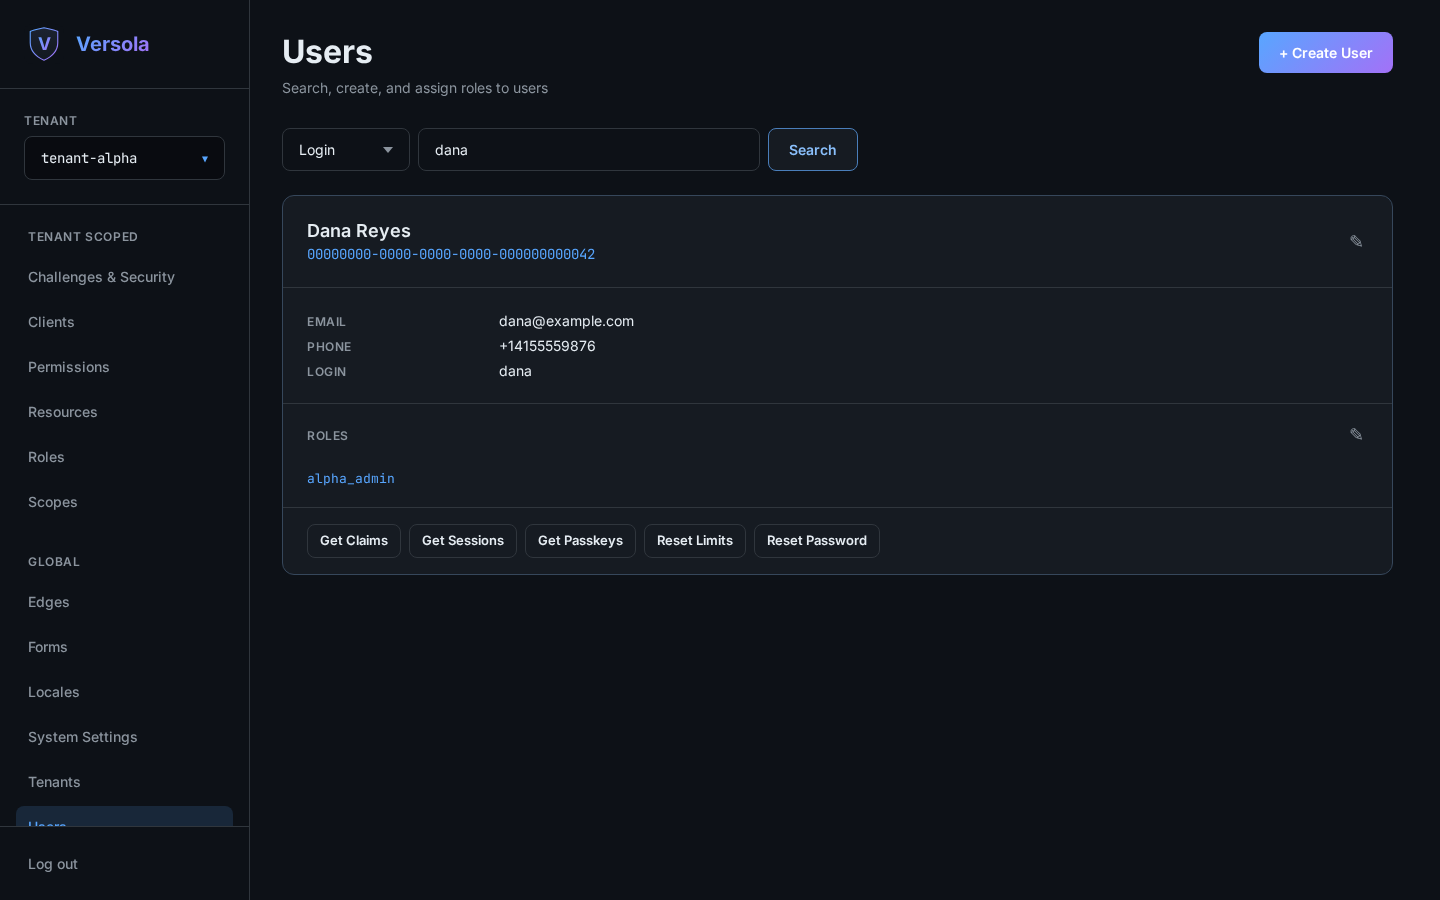
In the editor, pick a role from the dropdown and click Add to stage it; click ✕ next to an existing role to stage its removal (or ↩ to undo a staged removal before saving). Expanding a role shows the permissions it grants, so you can confirm what access you’re about to hand out before clicking Save roles.
6. Inspect sessions and passkeys
Get Sessions lists the user’s active sessions across clients, each showing platform, OS, browser and which clients are currently using it. Invalidate all sessions signs the user out everywhere at once — there’s no per-session revoke.
Get Passkeys lists registered WebAuthn credentials with their name, device type and sync status. From here you can rename a passkey or delete it.
7. Reset limits or password
Reset Limits clears rate-limit counters for the user in the current tenant — useful when someone is legitimately locked out after repeated failed attempts.
Reset Password generates a temporary password valid for 12 hours and delivers it by email or SMS, whichever the user has on file. This requires the user to have at least one of those identifiers set.