
A role is a named set of permissions, assigned to users per tenant. This page walks through creating one in the admin console. For the conceptual picture, see Entities.
Before you start
Have ready:
- The tenant the role belongs to.
- The permissions it should grant — they must already be registered (How to register a permission).
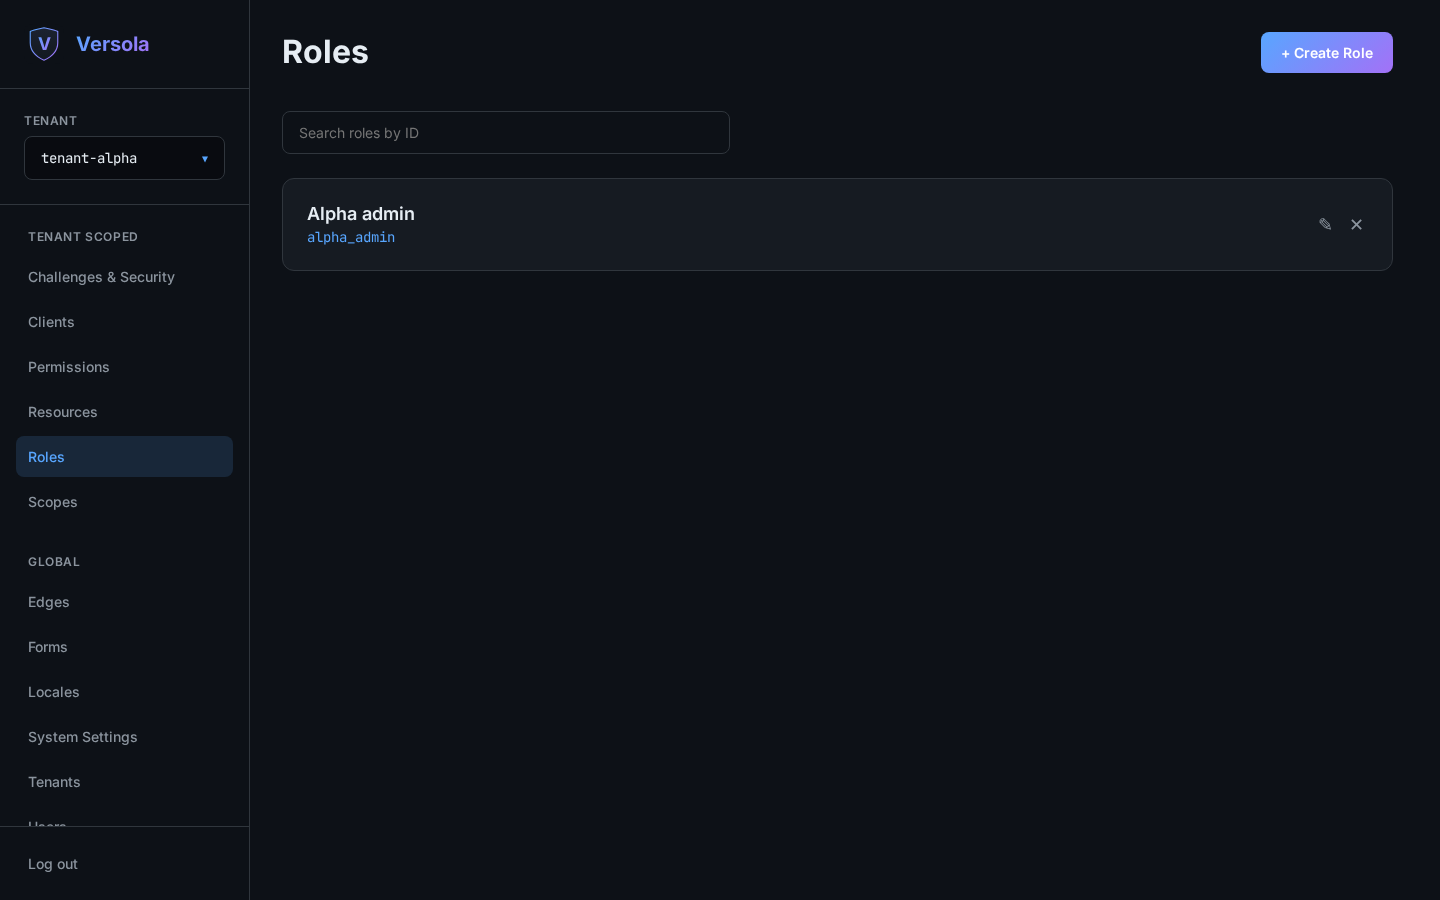
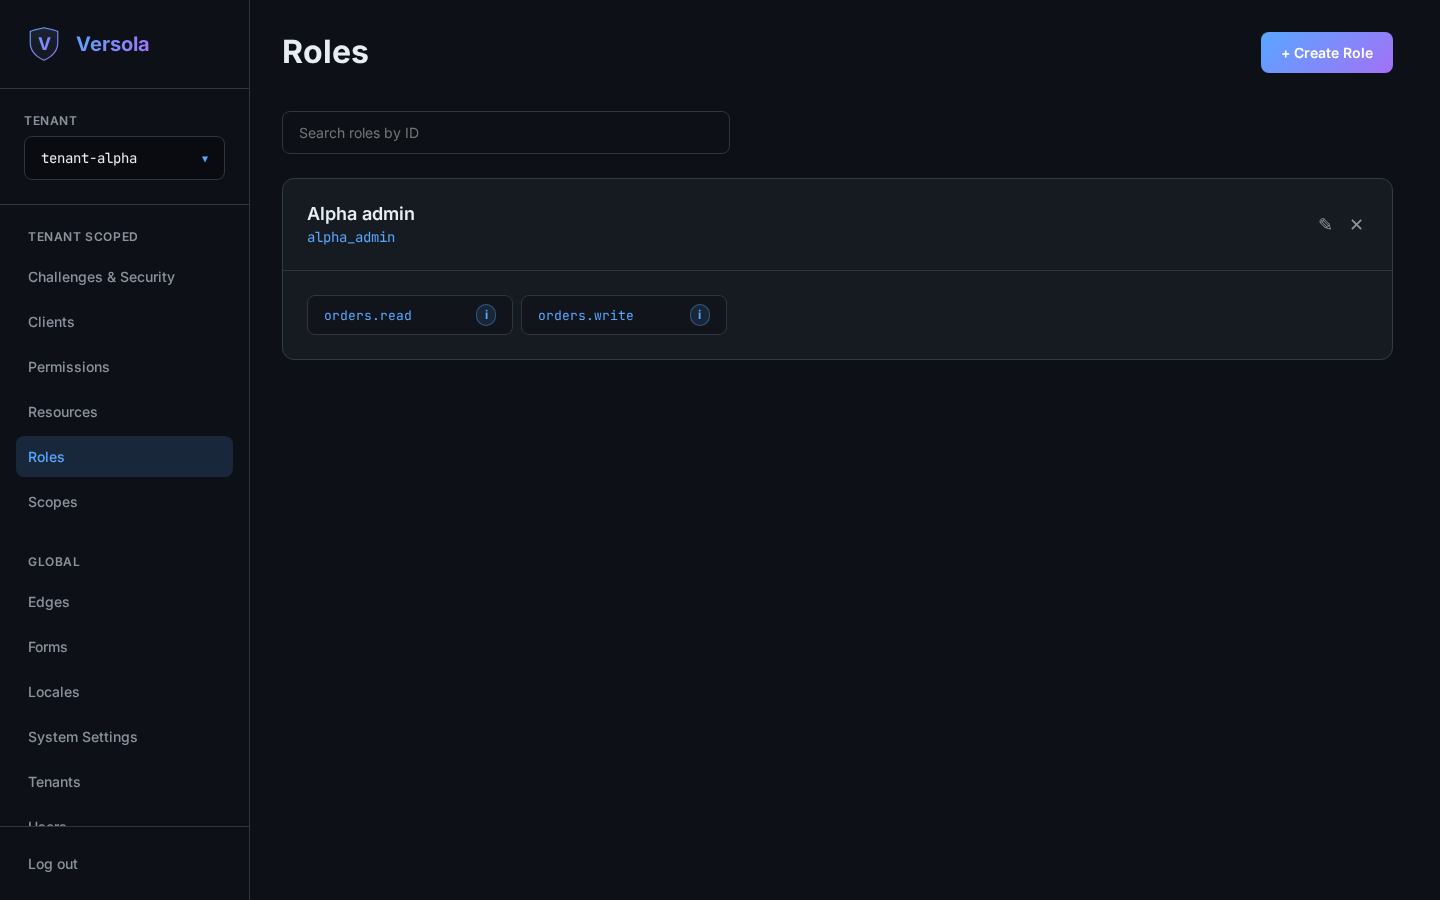
1. Open the Roles screen
Select the tenant, then open Roles. Each card shows the role’s description, ID and an Inactive badge if it’s disabled; clicking it expands the card to show its permissions.
2. Start a new role
Press + Create Role.
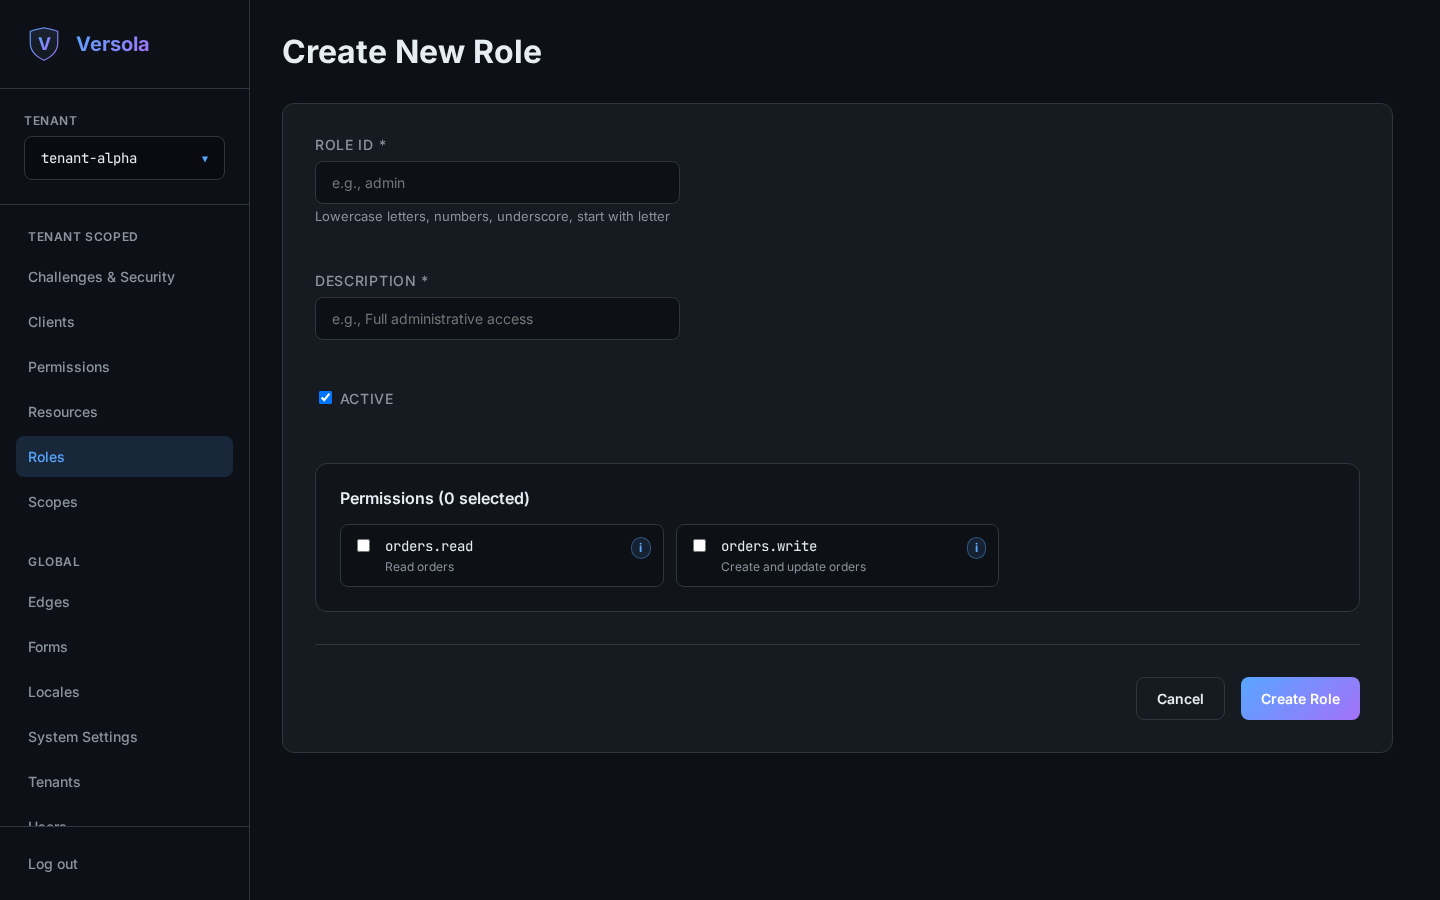
3. Fill in identity and permissions
- Role ID — lowercase letters, digits and underscores, starting with a letter (e.g.
admin,support_user). Immutable after creation. - Description — shown throughout the console.
- Active — leave checked to have the role grant access immediately. Uncheck it to keep the role around for reference without letting it grant anything — useful for retiring a role without losing the record of who used to hold it.
- Permissions — check every permission this role should grant. Each entry shows its ID, description and an info icon revealing the resources and endpoints it covers, so you don’t have to leave the form to check.
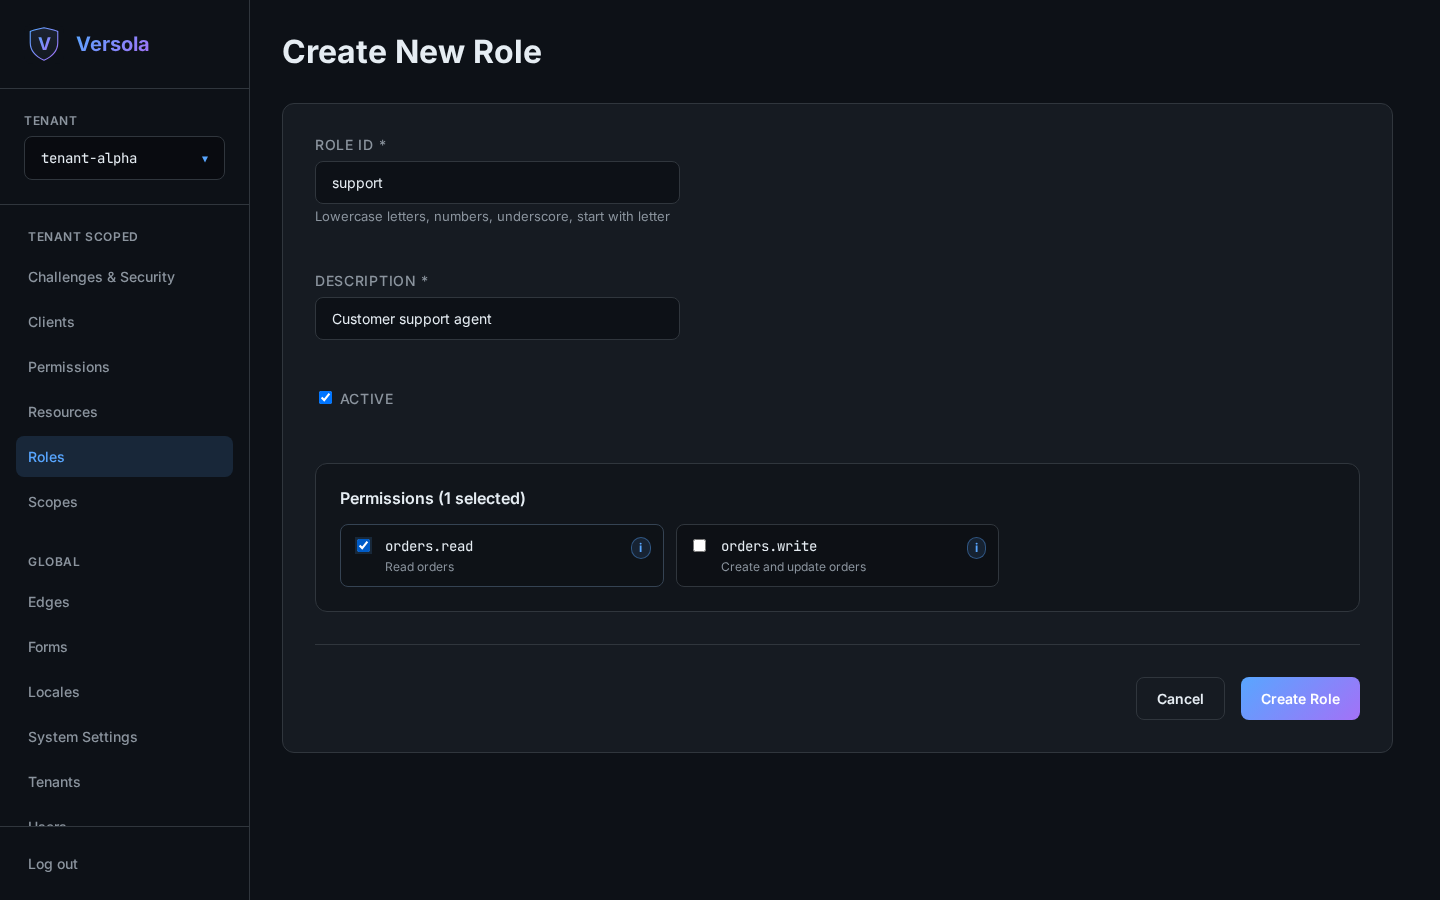
4. Create the role
Press Create Role. It’s now ready to assign to users: open a user’s Get Roles panel and add it — see How to register a user.
At request time, edge unions the permissions of every role a user holds in the token’s
tenant, so a user can hold several roles and get the sum of what they grant.
Editing or deleting a role
Press the pencil icon on a role’s card to change its description, active state or permissions — the role ID itself cannot be changed after creation. The trash icon deletes the role; every user who held it immediately loses the access it granted.