
A scope is a named bundle of claims a client can request about a user. This page walks through creating one in the admin console. For the conceptual picture, see Entities.
Before you start
Have ready:
- The tenant the scope belongs to.
- The list of claims the scope should release, with a short description for each — the description is shown to the user during the consent screen.
1. Open the Scopes screen
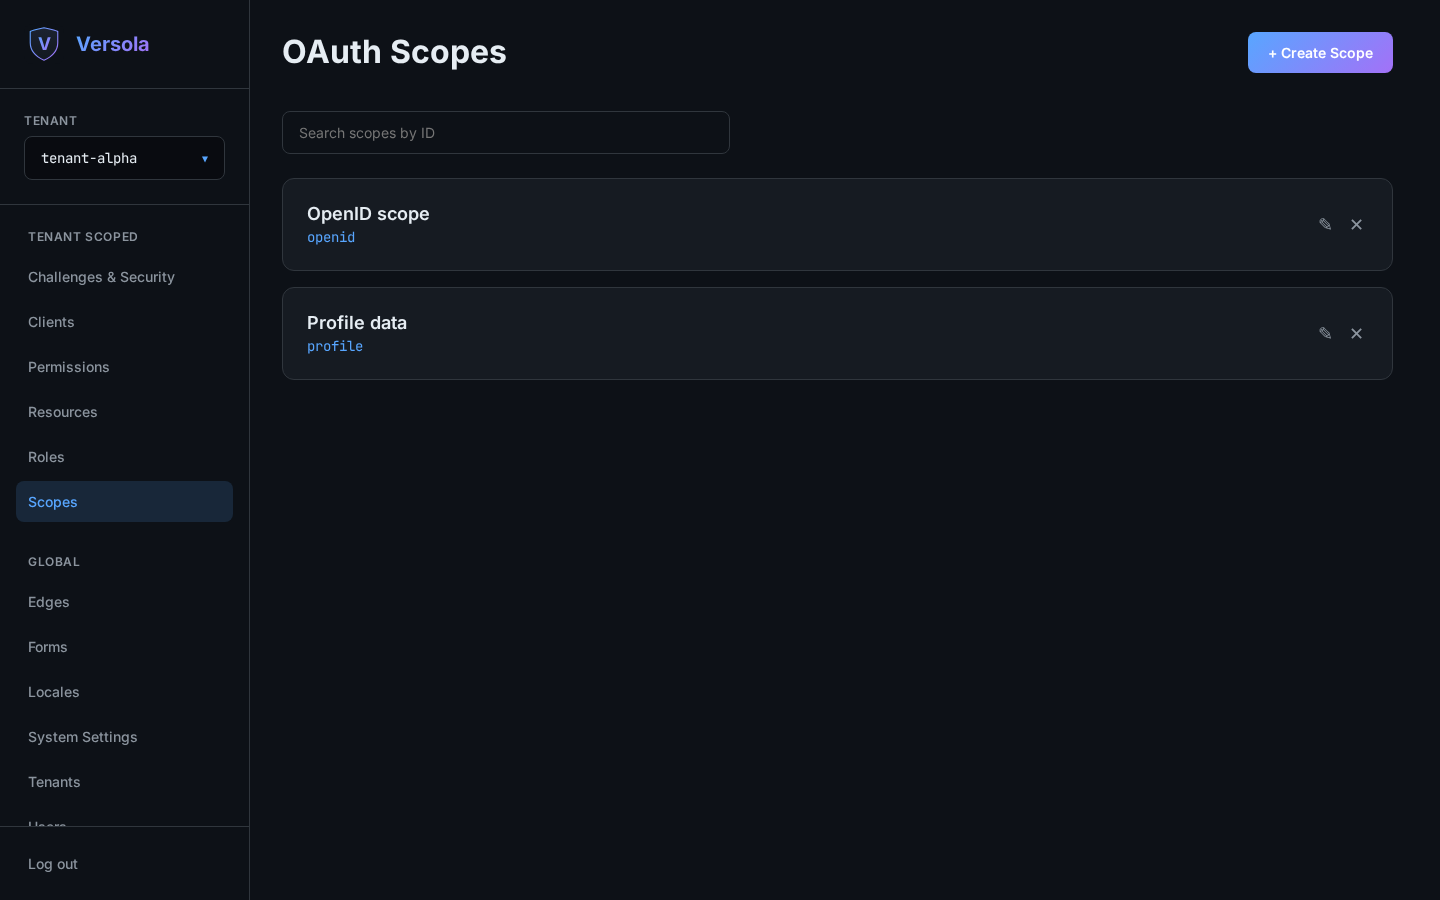
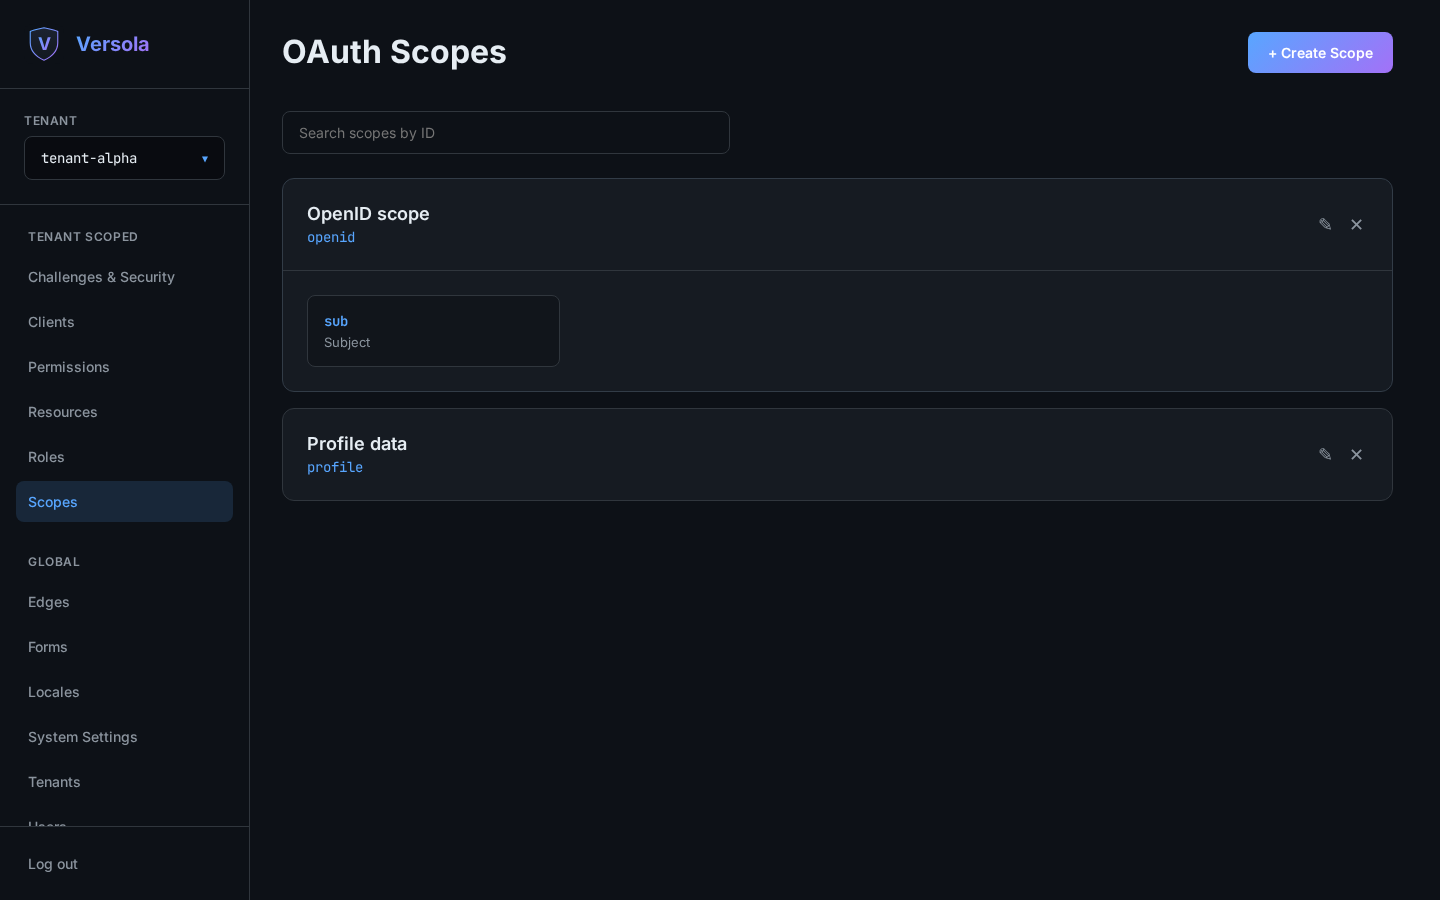
Select the tenant, then open Scopes. Each card shows the scope’s description and ID; clicking it expands the card to show its claims.
2. Start a new scope
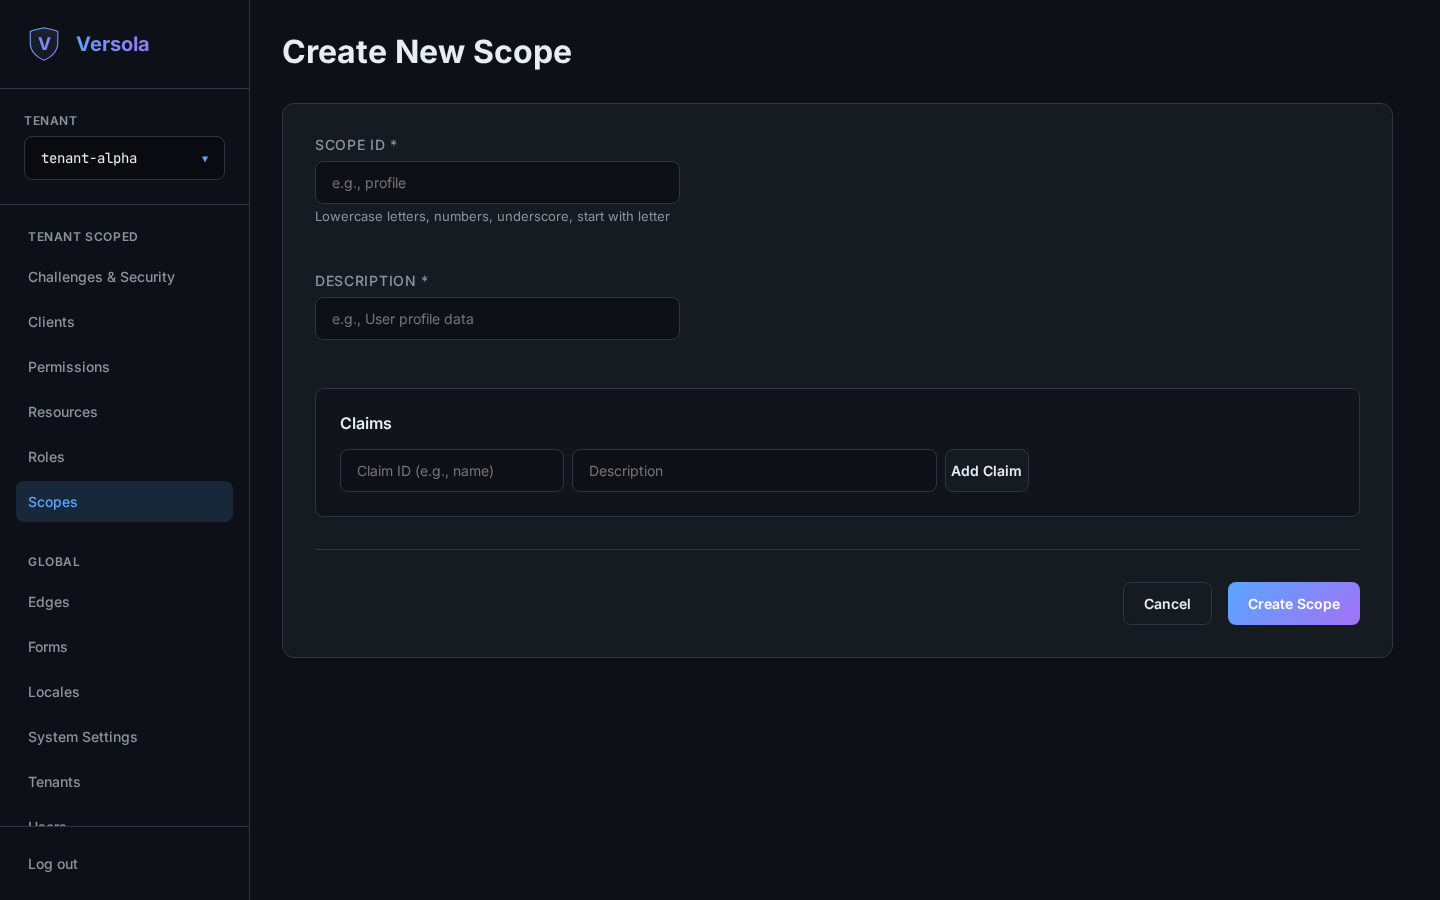
Press + Create Scope.
3. Fill in identity and claims
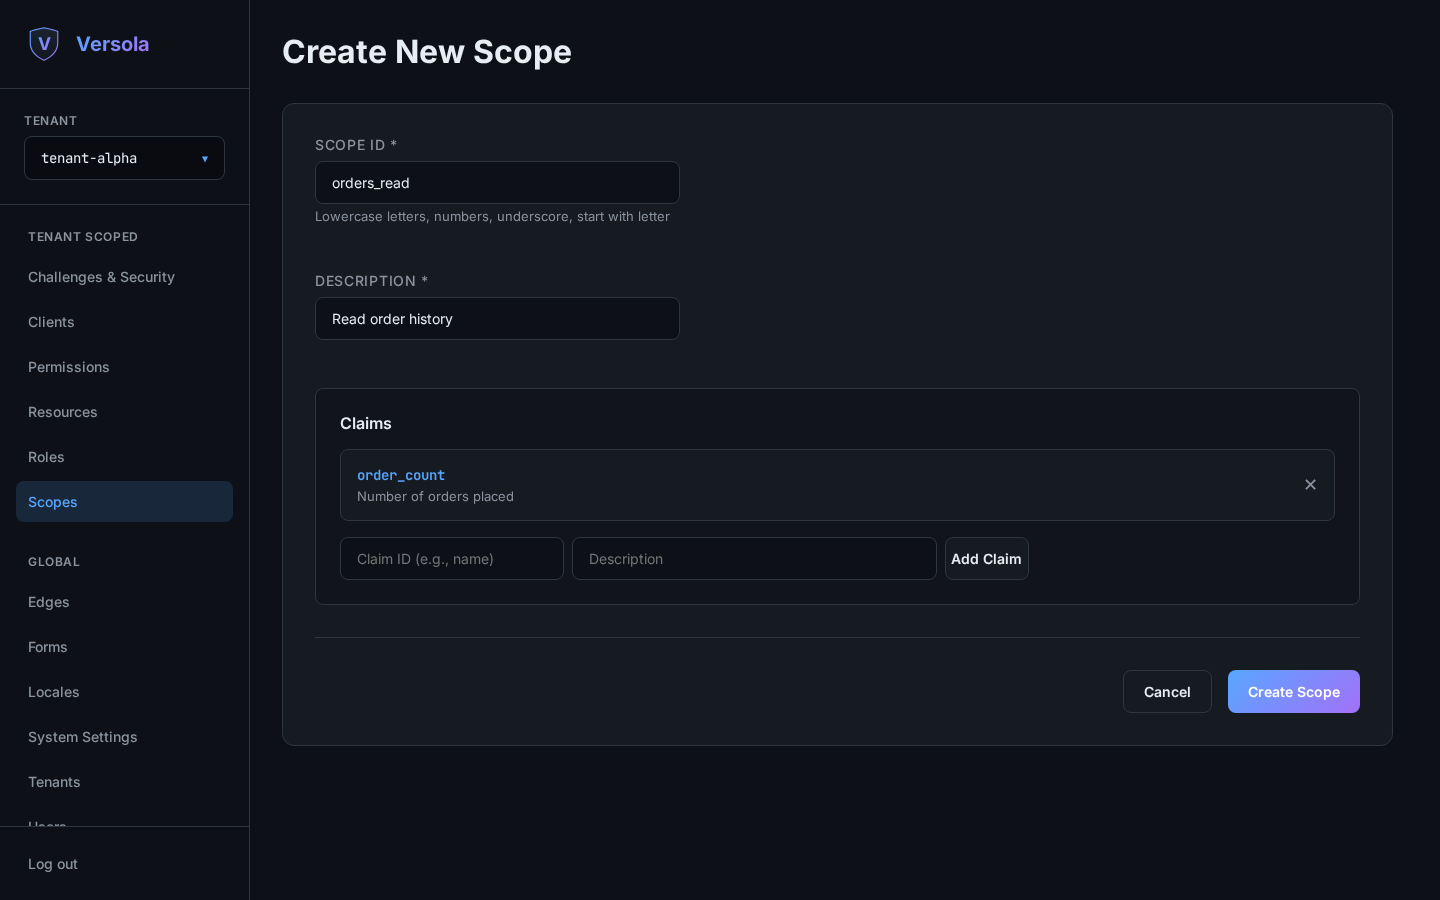
- Scope ID — lowercase letters, digits and underscores, starting with a letter (e.g.
orders_read). Immutable after creation. - Description — shown to users on the consent screen and to admins throughout the console.
- Claims — for each claim, give it an ID (the key it will appear under in the ID token
and at
userinfo) and a description, then press Add Claim. A scope can have any number of claims, including none.
4. Create the scope
Press Create Scope. It’s immediately available to grant to clients: open a client and add it under OAuth Scopes.
Editing or deleting a scope
Press the pencil icon on a scope’s card to change its description or claims — the scope ID itself cannot be changed after creation. The trash icon deletes the scope; any client still granted it loses the ability to request it.