
A tenant is the namespace that owns clients, resources, scopes, permissions and roles. This page walks through creating one in the admin console. For the conceptual picture, see Entities.
Before you start
Have ready:
- A Tenant ID you’re happy to keep forever — it’s immutable after creation.
- Optionally, the edge deployment this tenant’s clients and resources should be served
through, if you’re not running
centralalone.
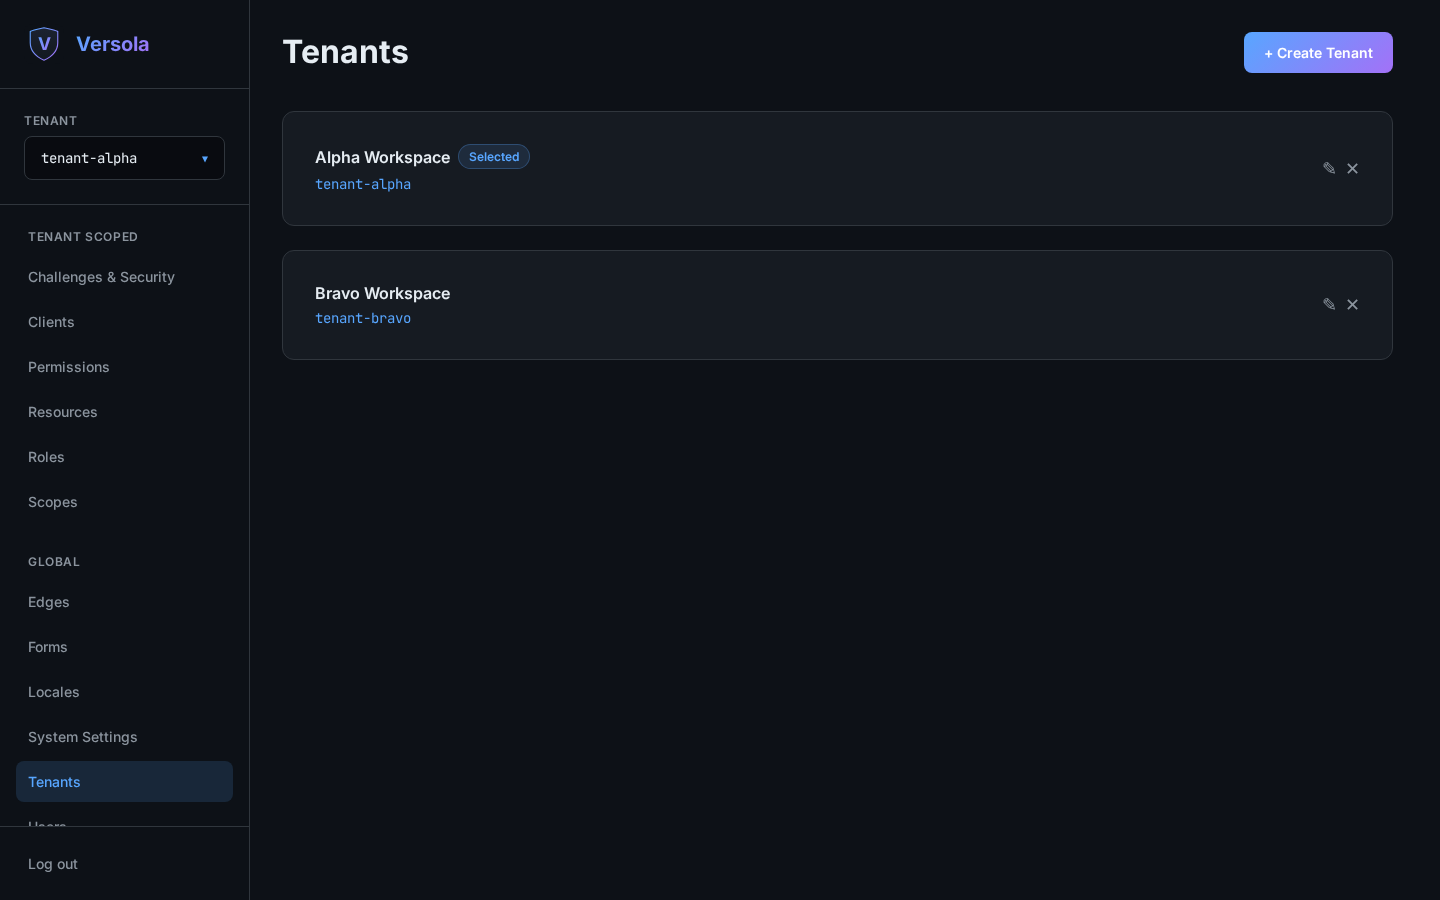
1. Open the Tenants screen
Open Tenants in the sidebar. Each card shows the tenant’s description (or its ID, if no
description is set), and a badge naming the edge it’s bound to, if any.
2. Start a new tenant
Press + Create Tenant.
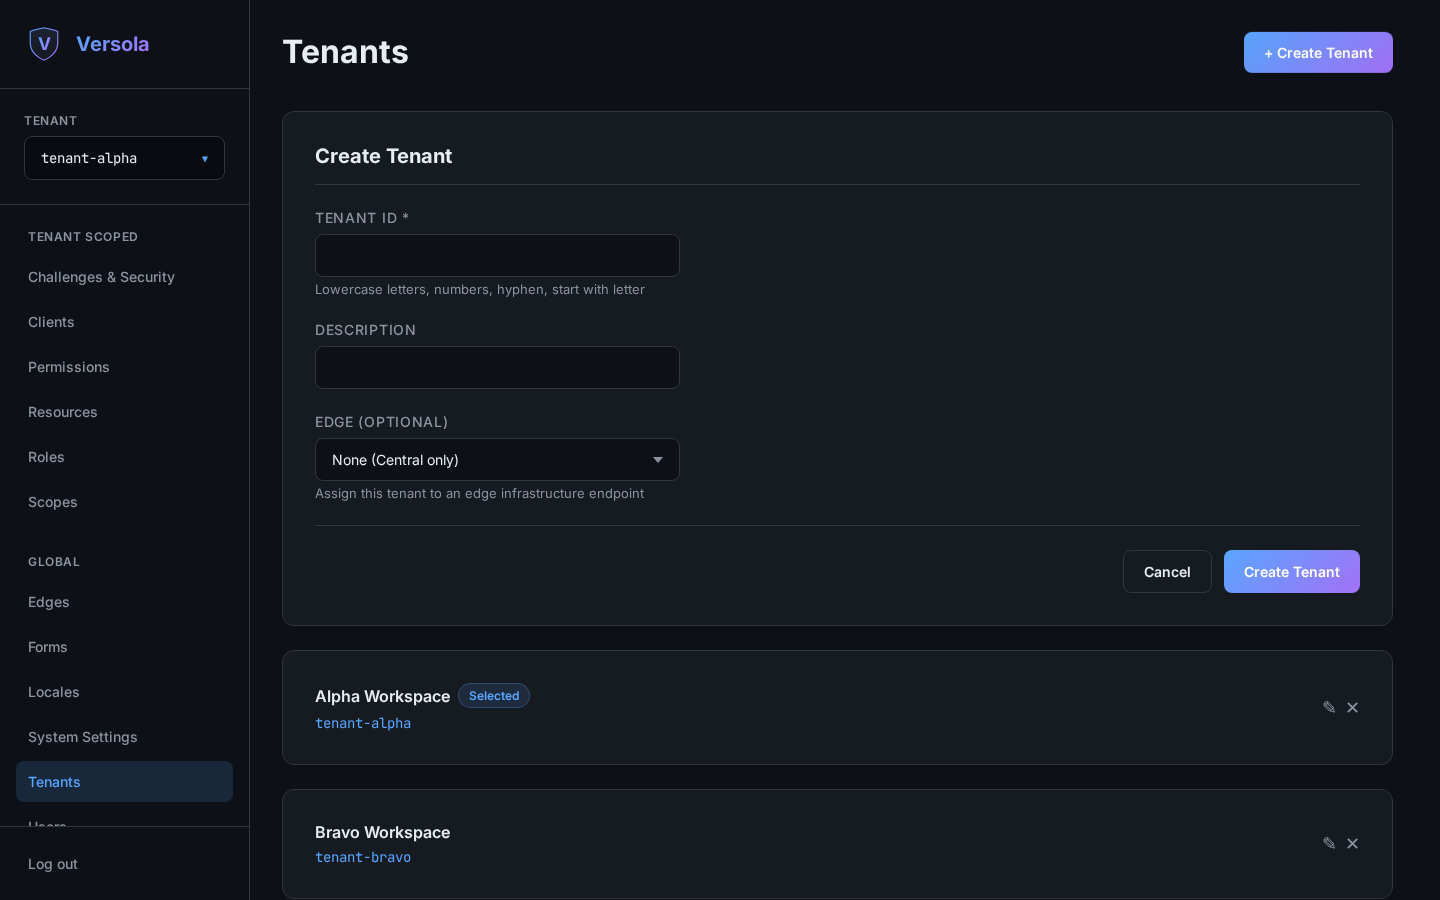
3. Fill in identity and edge binding
- Tenant ID — lowercase letters, digits and hyphens, starting with a letter. Immutable after creation.
- Description — a free-text label shown throughout the console; if left blank, the tenant ID is shown instead.
- Edge (Optional) — bind this tenant to an
edgedeployment. Leave it as None (Central only) if you’re managing configuration without a running edge, or if this tenant’s clients and resources will be served by a different edge you’ll assign later.
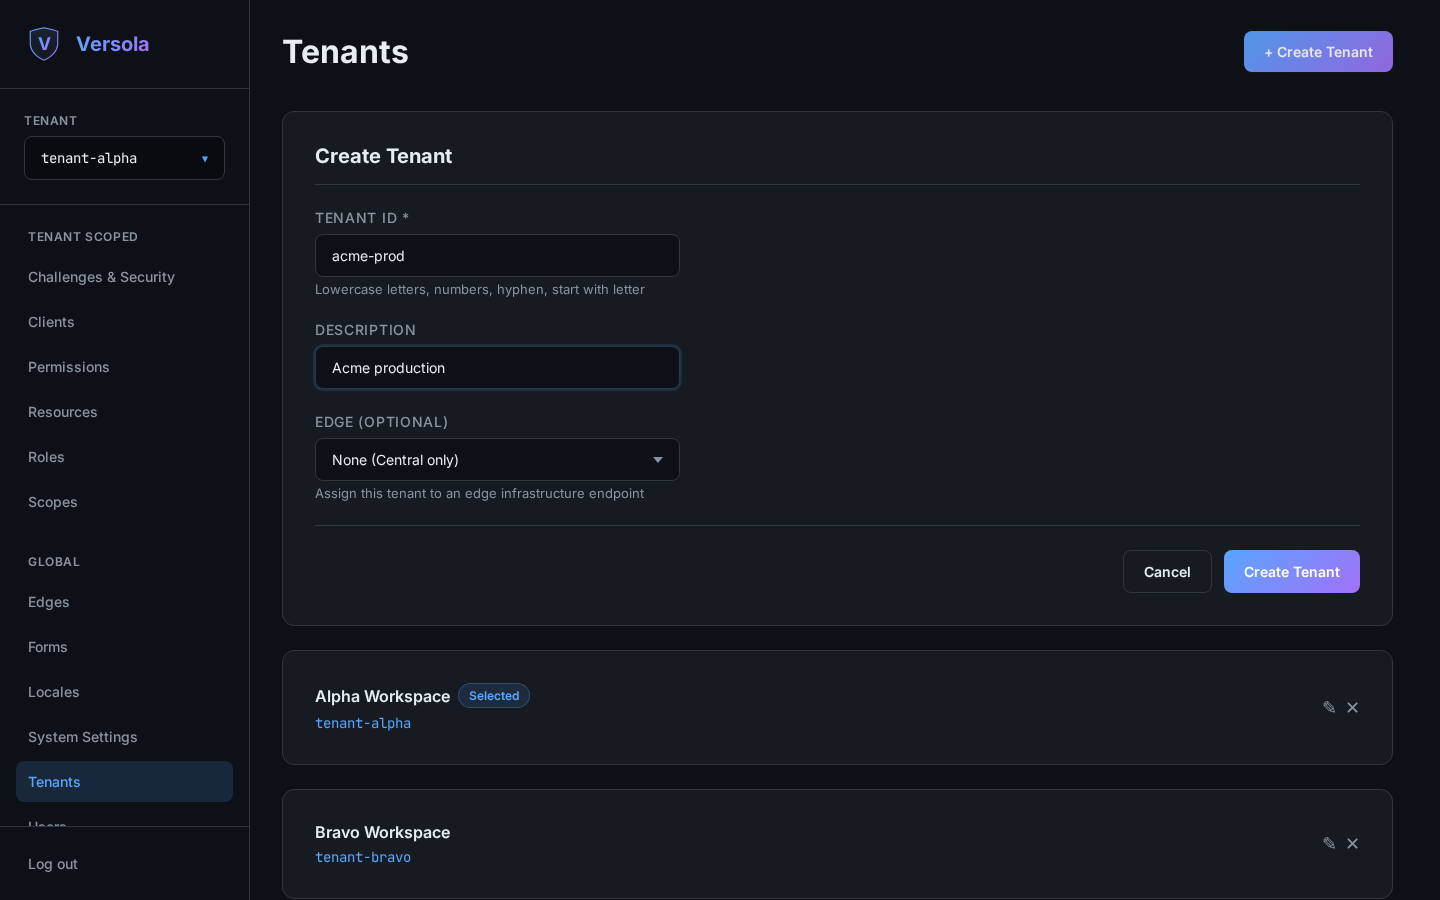
4. Create the tenant
Press Create Tenant. The tenant is immediately selectable from the tenant switcher, and you can start registering scopes, resources, clients, permissions and roles inside it.
Two tenants can each register a client called web-app with no conflict — every ID except
the user’s own is only unique within a tenant.
Editing or deleting a tenant
Press the pencil icon on a tenant’s card to change its description or edge binding — the tenant ID itself cannot be changed after creation. The trash icon deletes the tenant; there is no undo, and everything it owns — clients, resources, scopes, permissions and roles — is deleted with it.